
Introduction
Eclipse Mosquitto is an open source (EPL/EDL licensed) message broker that implements the MQTT protocol versions 5.0, 3.1.1 and 3.1. Mosquitto is lightweight and is suitable for use on all devices from low power single board computers to full servers.
The MQTT protocol provides a lightweight method of carrying out messaging using a publish/subscribe model. This makes it suitable for Internet of Things messaging such as with low power sensors or mobile devices such as phones, embedded computers or microcontrollers. MQTT can be installed on your own server and customised to suit your needs.
The Docker Compose File
---
services:
  mosquitto:
    image: docker.io/library/eclipse-mosquitto:latest
    container_name: mosquitto
    hostname: mosquitto
    restart: unless-stopped
    security_opt:
      - no-new-privileges:true
    environment:
      - TZ=${TZ}
    ports:
      - ${MOSQUITTO_PORT1}:1883/tcp
      - ${MOSQUITTO_PORT2}:9001/tcp
    volumes:
      - $HOME/containers/storage/mosquitto/config:/mosquitto/config:rw
      - $HOME/containers/storage/mosquitto/data:/mosquitto/data:rw
      - $HOME/containers/storage/mosquitto/log:/mosquitto/log:rw
      - /etc/localtime:/etc/localtime:ro
      - /etc/timezone:/etc/timezone:ro
    networks:
      - smart
    labels:
      - com.centurylinklabs.watchtower.enable=true
      - logging=promtail
      - logging_jobname=containerlogs

networks:
  smart:
    external: true
docker-compose.yaml
Now create config/mosquitto.conf
persistence true
persistence_location /mosquitto/data

log_dest file /mosquitto/log/mosquitto.log
log_timestamp_format %Y-%m-%dT%H:%M:%S

allow_anonymous true

listener 1883
mosquitto.conf
Now SSH into your host and run the following command to create the new container.
docker compose up -dThis will start your Mosquitto Docker container.
Setting Authentication for Mosquitto
You can keep your MQTT broker opened up, which means that any device on your network is able to publish or subscribe to MQTT topics without restrictions. This is a bad idea, so I use authentication on my Mosquitto broker. Anything that wants to write or read from my MQTT broker will need to have the correct username and password.
In Terminal enter the following command to access the shell of the docker container.
docker exec -it mosquitto /bin/shEnter this command to create a new MQTT user and password for authentication.
mosquitto_passwd -c /mosquitto/config/password.txt hassThis uses the mosquitto_password command with the -c switch (Which stands for create) to create a new user in the /mosquitto/config/password.txt file with a username of hass. You'll now be prompted to enter a password and to confirm it. Then save the file and exit to disconnect from the shell.
Now update conf file to allow authentication.
persistence true
persistence_location /mosquitto/data

log_dest file /mosquitto/log/mosquitto.log
log_timestamp_format %Y-%m-%dT%H:%M:%S

allow_anonymous false
password_file /mosquitto/config/password.txt

listener 1883
Once you've saved the file you will need to restart the container with this command
docker container restart mosquittoYou now have the Mosquitto broker running in a Docker container, protected by a username and password, and you can now connect up Home Assistant to it with the official MQTT integration.
Connecting Home Assistant to the MQTT Broker
In Home Assistant, navigate to the Configuration menu and to the Integrations page. Click the Add Integration button at the bottom right, and search for the MQTT integration. Click on the MQTT integration.
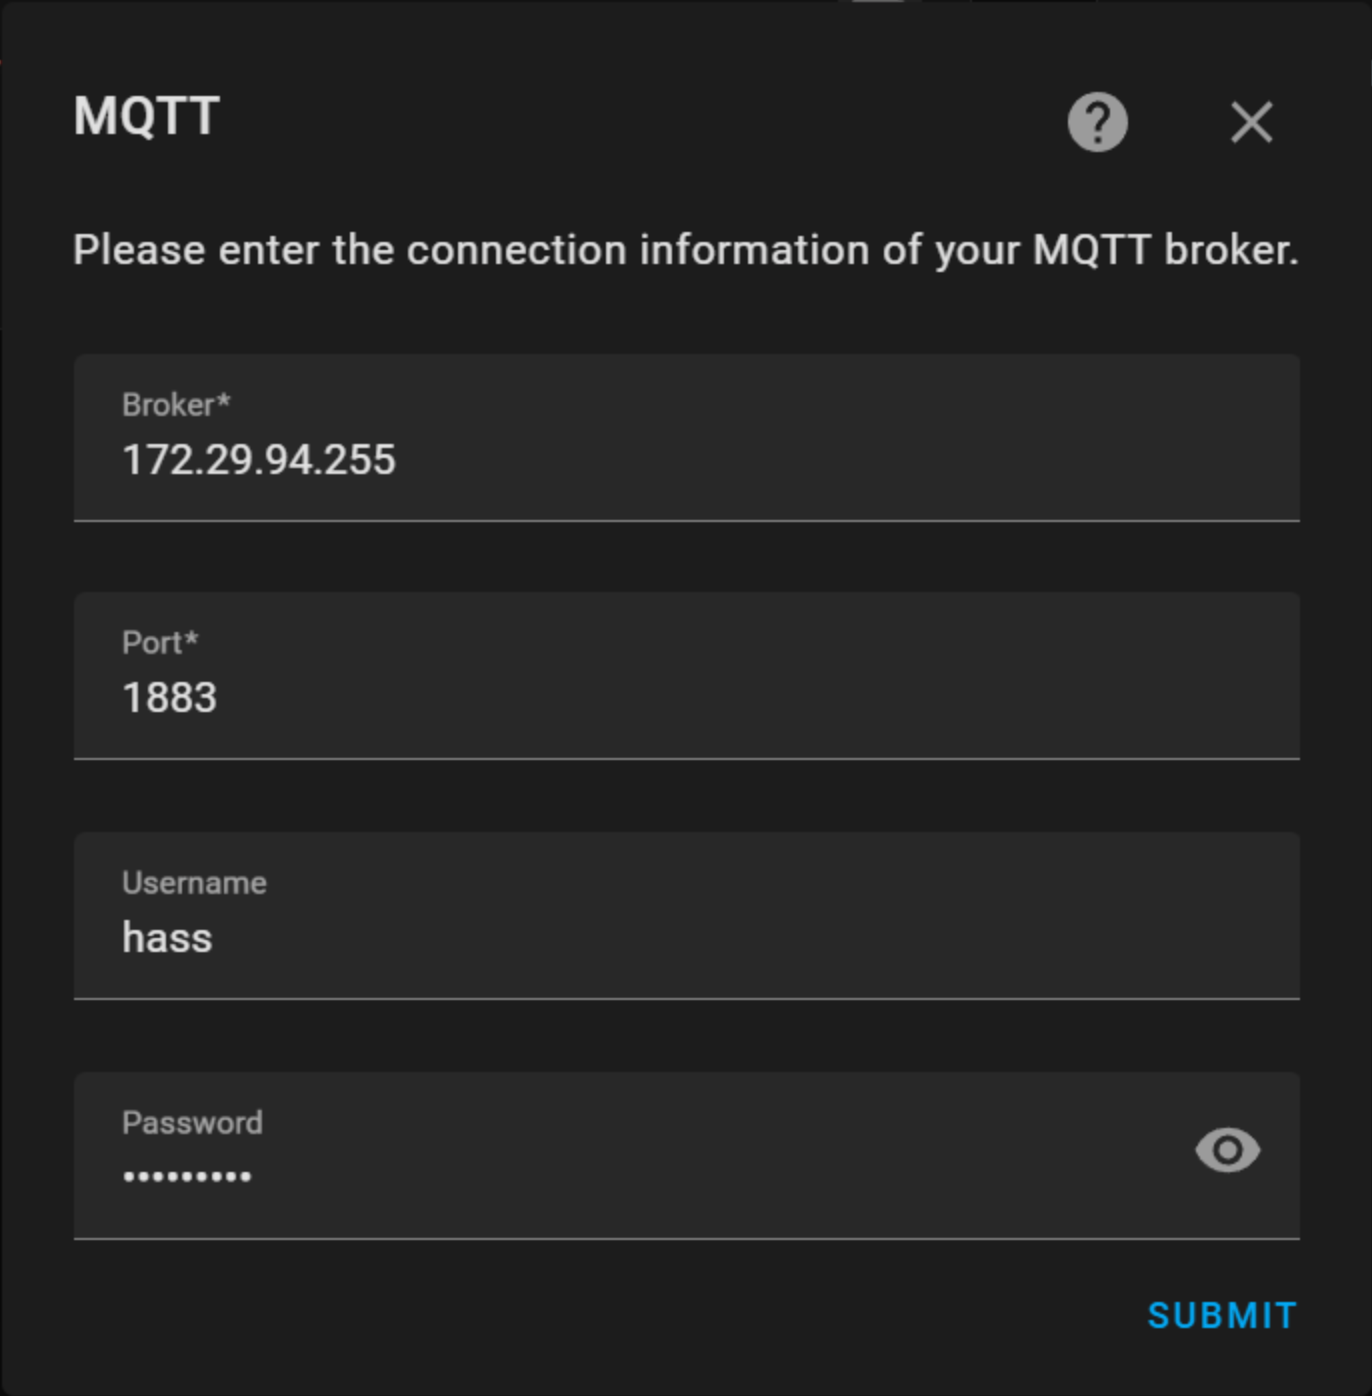
Type the IP Address of your host in as the Broker address, leave port 1883 as default and then enter the username and password for the hass MQTT user you created.
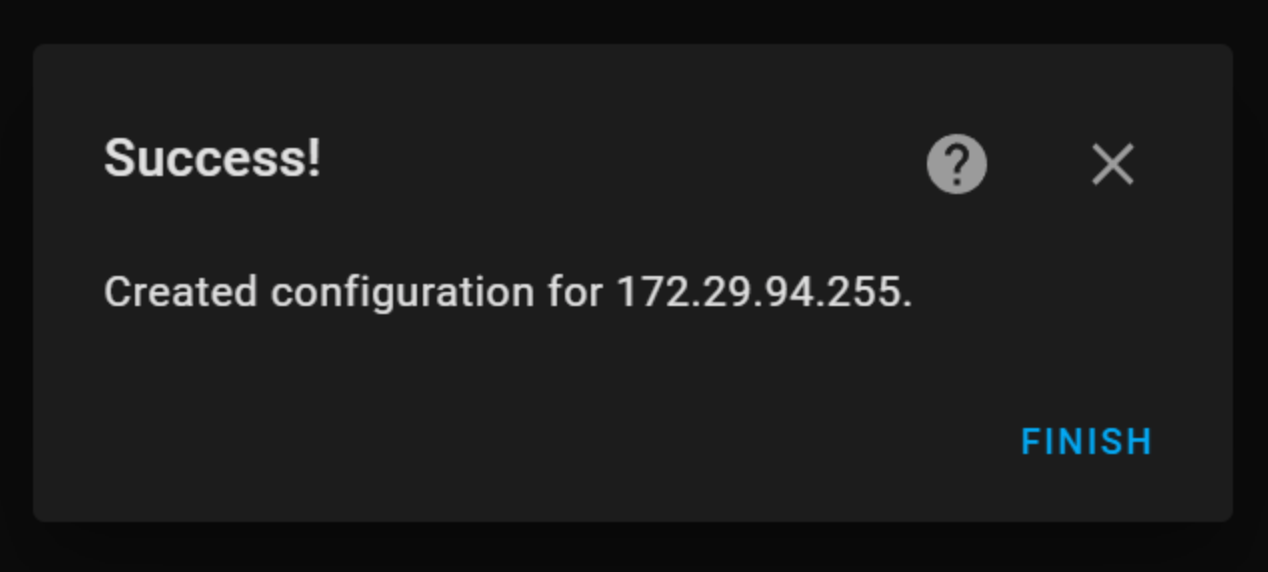
Click Submit and you should see a success message!